
Philidor Position
Learn the most important rook endgame drawing technique — the Philidor defense uses the rook on the 6th rank and perpetual checks from behind.
Try Interactive LessonIntroduction
Lesson Content
White pushes the pawn to the 6th rank with check. This is the critical moment — the pawn on e6 attacks d7 diagonally, forcing Black's king to move. Notice that White couldn't play ♔︎d6 because Black's rook on a6 controls the entire 6th rank, preventing the king from advancing. That's Phase 1 of the Philidor in action! But now that the pawn has advanced, Black must transition to Phase 2.
Retreat to e8, in front of the pawn!
♔︎e8 — The key retreat! Black steps to e8, staying near the promotion square. The king must stay near the pawn, not drift to the queenside. From e8, the king watches the e-file and remains close to f8/g8 in case the pawn promotes. This is the most critical decision in the Philidor defense — stepping toward the queenside (♔︎c7 or ♔︎c8) loses the game.
Alternative Moves
White repositions the king behind the pawn. Notice that ♔︎d6 is still illegal — Black's rook on a6 controls d6! The rook's Phase 1 job continues even after the king retreated. White must find another way to advance.
Switch the rook to a long-range checking position!
♖︎a2 — Phase 2 begins! The rook leaves the 6th rank and drops to a2, preparing to give checks from behind. The rook needs distance from the king to make the checks effective — from a2, it can swing to any file on the 2nd rank for checks from behind. Why not stay on the 6th rank? Because the rook's Phase 1 job is done — the pawn is already on e6, so blocking the king on the 6th rank no longer prevents the pawn from advancing. Time to switch to perpetual checks.
Alternative Moves
Now that the rook has left a6, White's king can finally advance to the 6th rank. ♔︎d6 supports the pawn on e6 and threatens ♖︎h8#. But Black is ready — the rook on a2 springs into action.
Check from behind — drive the king back!
♖︎d2+ — Check from behind! The rook swings to d2 with check, forcing White's king to retreat. This is the essence of Phase 2 — whenever the king advances toward the pawn, Black gives a check from behind, pushing it back. The king can never stay on the 6th rank long enough to promote.
White retreats from the check. The king returns to e5, but Black simply continues checking. White has made no progress — the king can't stay on the 6th rank.
Follow the king — check on the e-file!
♖︎e2+ — Another check! The rook follows the king to the e-file. Black's strategy is simple and mechanical: wherever the king goes, give a check on that file from the 2nd rank. The king has nowhere to hide.
White tries a different escape route — heading to the kingside. Can the king run far enough from the rook to avoid the checks? Black must respond precisely here.
Check on the f-file — this is the only move that draws!
♖︎f2+ — The only drawing move! Black must check on the f-file immediately. Every other move — including king moves, captures, and non-checking rook moves — loses the game. This is the one moment where precision is absolutely critical.
White continues running to the kingside. The king is now on g6 — two files from the pawn on e6. But the rook follows relentlessly.
Follow to the g-file — keep checking!
♖︎g2+ — The rook follows to g2, checking the king again. The pattern is clear: the rook mirrors the king's file from the 2nd rank. White cannot escape because the board has an edge — the king will eventually have to come back.
White turns back — the kingside offered no escape. The king heads back toward the center, but the rook keeps following.
Keep following — check on the f-file!
♖︎f2+ — Check on the f-file once more. Black is executing the perpetual check pattern flawlessly — the rook follows the king from file to file, never allowing it to settle.
White returns to e5 — the same square as after move 4. White has tried going left (♔︎d6) and right (♔︎f6, ♔︎g6) and ended up exactly where it started. The perpetual check is inescapable.
Check again — the draw is secured!
Draw by repetition! This position has occurred before (after move 4. ..♖︎e2+). White's king can wander in any direction, but the rook will always follow with checks from the 2nd rank. The pawn on e6 is going nowhere — pushing it to e7 achieves nothing because the king can't settle on the 6th rank long enough. The Philidor defense holds.
Key Takeaways
- Phase 1: Keep the rook on the 6th rank to prevent the attacking king from advancing — it controls the entire rank
- Phase 2: Once the pawn reaches the 6th rank, retreat your king and switch the rook to checking from behind
- After the pawn advances with check, retreat in front of the pawn (♔︎e8) — never step away from it (♔︎c7/♔︎c8 loses)
- The rook needs distance for effective checks — drop down the a-file (♖︎a2/♖︎a3), but not to a1, where White's rook on h1 takes it
- Follow the king file by file with checks from the 2nd rank — the board edge prevents escape
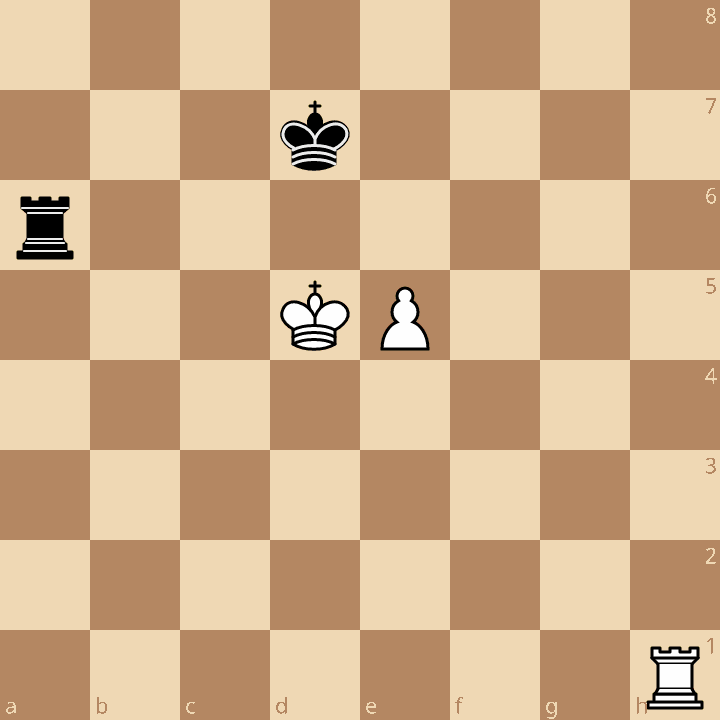
Now play it through
Step through every move on a real board, try the wrong ones, and ask Knighty why they fail.
Related Lessons
Summary
Ready to Practice?
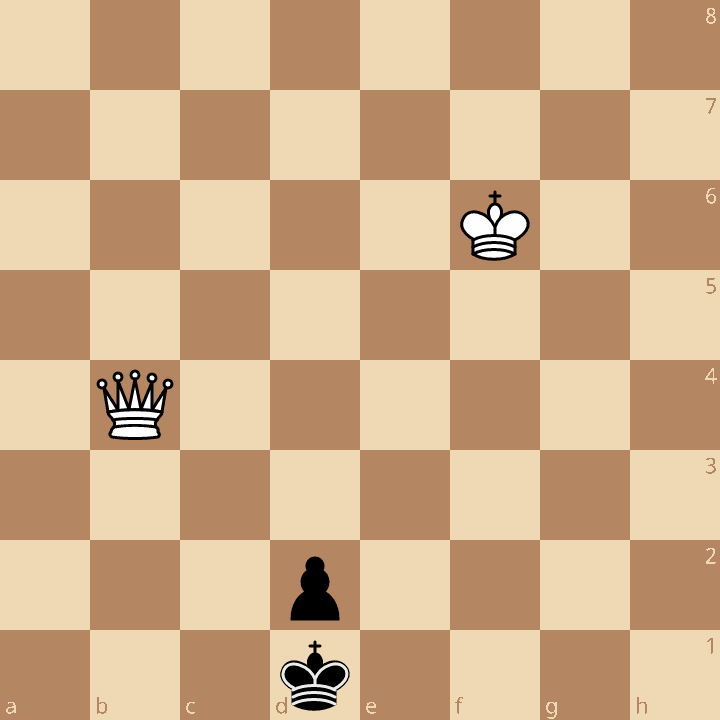
Next in this course
Queen vs Pawn on 7th Rank
Take this lesson with you
Free account requiredWith every variation — opens in Lichess & ChessBase