
Stalemate Trap: Queen vs f-Pawn
Learn how the f-pawn (and c-pawn) creates a miraculous stalemate defense against a queen. With correct play, Black forces a draw despite being down a queen for a pawn.
Try Interactive LessonIntroduction
Lesson Content
White plays ♕︎d4, centralizing the queen and pinning the f2 pawn along the d4-g1 diagonal. The queen attacks f2 and controls many squares. White has a queen against a lone pawn — enormous material advantage. But this position is a theoretical draw with correct defense.
Head for the corner — the stalemate zone!
♖︎etreat to the corner! The king steps to h1, the key defensive square. From here, if White ever plays ♕︎xf2, it's immediate stalemate — the queen would control g1, g2, and h2, leaving the king on h1 with no legal moves. Black must avoid ♔︎f1 (loses — the king leaves the stalemate zone) and ♔︎h2 (also loses in this position). Only ♔︎h1 and ♔︎g2 hold the draw here.
Alternative Moves
White brings the king closer, trying to support the queen. The king marches from e5 to e4, approaching the action. This is a natural winning attempt — in most Q vs pawn positions, bringing the king in helps. But here it doesn't matter: the stalemate defense holds regardless.
Step out to g2 — stay in the drawing triangle.
♔︎g2 — Oscillate! The king comes out to g2, staying within the drawing zone. From g2, the king defends the f2 pawn and maintains the stalemate threat — if White takes ♕︎xf2+, Black recaptures ♔︎xf2 (or if the king is already on h1, it's stalemate directly). The key is never to stray from the g1-h1-g2 triangle. Black just shuffles between these squares.
Alternative Moves
White repositions the queen to e3, closer to the f2 pawn. The queen now attacks f2 directly and controls the third rank. White is probing for weaknesses, but the stalemate defense is rock solid as long as Black stays in the drawing zone.
Return to h1 — maintain the stalemate threat.
♗︎ack to the corner! With the white queen on e3 attacking f2, several king moves lose. ♔︎h2, ♔︎f1, and ♔︎g1 all allow White to win. Only ♔︎h1 (and f1=♕︎) maintain the draw. The king returns to h1, keeping the stalemate threat alive. If White captures ♕︎xf2, it's stalemate with the king on h1.
Alternative Moves
White shifts the queen to f4, still attacking f2 from a different angle. The queen is maneuvering around the pawn, trying to find a way to win. But no queen placement breaks the stalemate defense — White is trapped in a paradox: capturing the pawn leads to stalemate.
Shuttle the king — patience is the key.
♗︎ack to g1! With the queen on f4, the king can safely step to g1. Both ♔︎g1 and ♔︎g2 draw here. The king oscillates within the safety triangle, patiently waiting. Notice the pattern: Black never needs to do anything aggressive. Just shuffle the king between the safe squares and let White struggle with the stalemate paradox.
White plays ♕︎g3+ — a check! The queen comes to g3, checking the king and attacking f2. This looks dangerous, but Black has the perfect response. The check forces Black's hand, but only toward the stalemate corner.
The corner is your fortress!
♔︎h1 — the only move that holds! ♔︎f1 loses (the king leaves the stalemate zone and White wins). ♔︎h1 is forced and perfect. The king tucks into the corner, and now White faces the critical moment: the queen on g3 can take the pawn with ♕︎xf2, but that leads to stalemate! This is the climax of the defense. White has no way to make progress.
Alternative Moves
White captures the pawn — STALEMATE! The queen on f2 controls every square around the king: g1, g2, h2. The king on h1 has zero legal moves, but it's not in check. The game is drawn. This is the beautiful paradox of the f-pawn defense: White's material advantage is overwhelming, but capturing the last black piece produces stalemate. The f-pawn (and c-pawn) are special because the king can hide in the corner where the stalemate geometry works perfectly. Note: this trick does NOT work with the b, d, e, or g pawns — only the bishop pawns (c, f) and rook pawns (a, h) offer a stalemate defense.
Key Takeaways
- The f-pawn and c-pawn create a unique stalemate defense against a queen
- Don't promote the pawn — the stalemate defense never needs it
- Keep the king in the g1-h1-g2 triangle to maintain the stalemate threat
- If White captures ♕︎xf2 with the king on h1, the queen controls g1, g2, and h2 — stalemate
- This defense does NOT work with the b, d, e or g pawns — only the bishop pawns (c, f) and rook pawns (a, h) hold
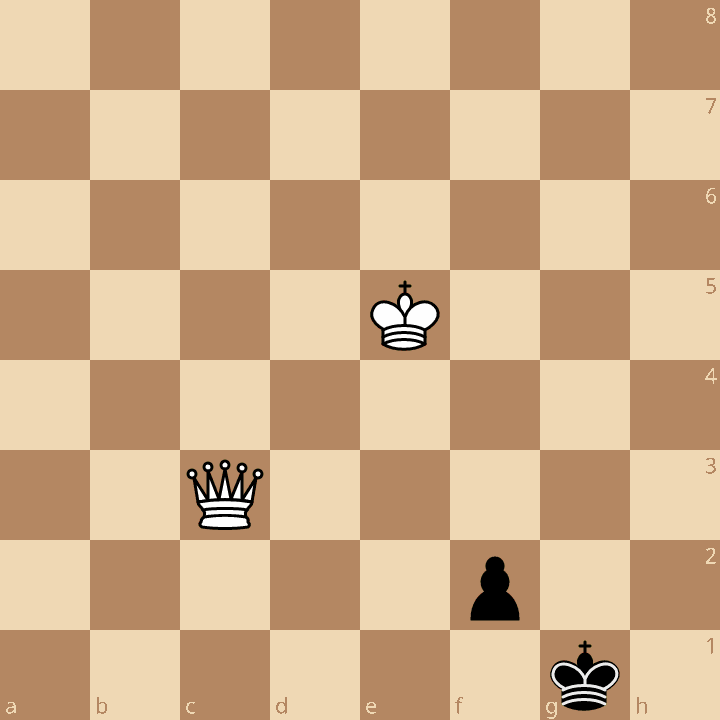
Now play it through
Step through every move on a real board, try the wrong ones, and ask Knighty why they fail.
Related Lessons
Summary
Ready to Practice?
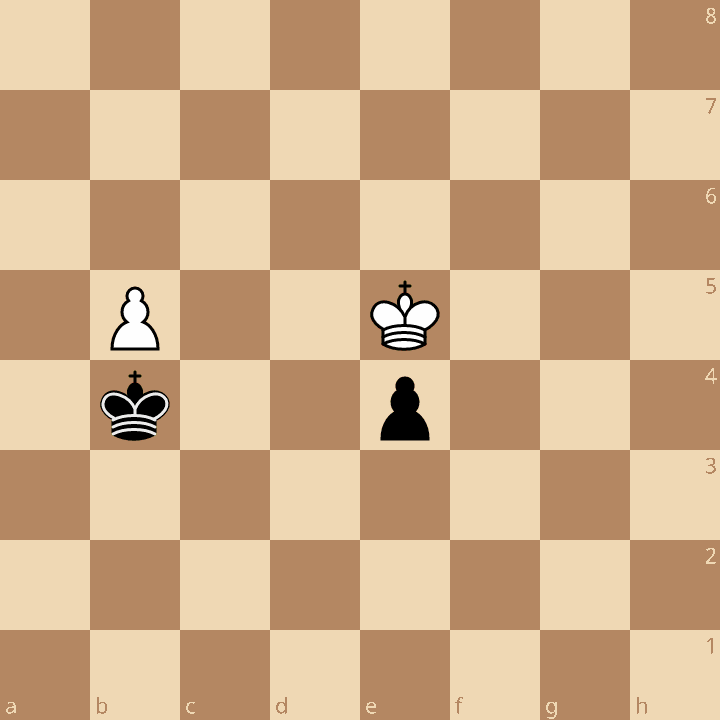
Next in this course
The Trebuchet
Take this lesson with you
Free account requiredWith every variation — opens in Lichess & ChessBase