
Budapest Gambit
A sharp gambit where Black sacrifices the e-pawn for rapid piece activity and development.
Try Interactive LessonIntroduction
Lesson Content
The Queen's Pawn opening — White claims the center with the d-pawn, which is immediately defended by the queen. This tends to lead to more strategic, closed positions compared to 1. e4. Black's main responses: - 1. ..d5 — Queen's Gambit and Slav setups - 1. ..♘︎f6 — Indian Defenses (King's Indian, Nimzo-Indian, etc.) - 1. ..f5 — Dutch Defense
Develop the knight to control the e4 square.
♘︎f6 — Black develops the knight and controls e4, preventing White from building the ideal e4+d4 center easily. This is the gateway to all Indian Defense systems. Black delays committing a pawn structure, staying flexible to choose between King's Indian, Nimzo-Indian, Queen's Indian, and more.
White reinforces control of d5 and grabs more space. Combined with d4, the two pawns dominate the center. Now Black's response determines the opening system: - 2. ..e6 — Nimzo-Indian (after 3. ♘︎c3 ♗︎b4) or Queen's Indian - 2. ..g6 — King's Indian or Grunfeld - 2. ..c5 — Benoni structures - 2. ..e5 — Budapest Gambit
Sacrifice your e-pawn to disrupt White's center and seize the initiative.
e5 — The Budapest Gambit! Black boldly offers the e-pawn, challenging White's center immediately. This is a gambit — Black sacrifices material for rapid development and piece activity. After 3. dxe5, Black will chase the pawn with 3. ..♘︎g4, beginning a sequence that leads to active, well-coordinated pieces. The surprise factor makes this a potent practical weapon.
Alternative Moves
White accepts the gambit pawn. Declining with 3. d5 is possible but gives Black a comfortable position after 3. ..♗︎c5 with easy development. Accepting is the principled response — White grabs material and dares Black to prove compensation.
Attack the e5 pawn with your knight — the whole point of the gambit.
The key move of the Budapest Gambit! The knight jumps to g4, immediately attacking the e5 pawn. From g4, the knight also eyes e5 and f2, creating tactical pressure. Black's alternative is 3. ..♘︎e4 (the Fajarowicz Variation), which is sharper but riskier. The main line with ♘︎g4 is more solid and reliable.
Alternative Moves
White defends e5 with the bishop, the most popular and classical response. The bishop controls the e5 square while developing naturally. Alternatives include 4. e3 (returning the pawn immediately) and 4. ♘︎f3 (developing). 4. ♗︎f4 is the main theoretical test of the Budapest, keeping the extra pawn while developing.
Alternative Moves
Develop your knight and pile pressure on the e5 pawn.
♘︎c6 — Developing the second knight while adding more pressure on the e5 pawn. Now two pieces target e5. The knight also controls d4 and prepares future ..♗︎b4+ check. This is more flexible than the immediate 4. ..♗︎b4+ — Black keeps options open for both the bishop and the queen.
Alternative Moves
White develops the knight to its natural square, adding another defender to e5. The knight also supports the center and prepares kingside castling.
Check the king to force White into a passive piece placement.
♗︎b4+ — A disruptive check! The bishop forces White to block, typically with ♘︎bd2, which places the knight on a less active square. This is a key idea of the Budapest — using the check to misplace White's pieces. After 6. ♘︎bd2, the knight blocks the queen's connection to d4 and is somewhat passive on d2.
Alternative Moves
White blocks with the knight, the most common response. The knight on d2 is somewhat passive but keeps the position solid. Alternatives like 6. ♘︎c3 allow ..♗︎xc3+ doubling White's pawns.
Alternative Moves
Centralize the queen to pile maximum pressure on e5.
The queen centralizes on e7, adding a third attacker to the e5 pawn. This is the classic Budapest setup — ♘︎c6, ♘︎g4 and ♕︎e7 all aim at e5, while ♗︎b4 pins the d2 knight. The queen also protects the ♗︎b4 and prepares to recapture on e5. Black's compensation for the pawn is now clear: superior development and coordinated piece pressure.
Alternative Moves
White prepares to develop the bishop to e2 and castle. The e3 pawn also supports the center. White essentially offers to return the pawn — after ..♘︎gxe5, Black recovers the gambit pawn with excellent piece placement.
Recover the gambit pawn with your knight, centralizing it powerfully.
♘︎gxe5 — Black recovers the gambit pawn! The knight from g4 captures on e5, centralizing powerfully. Now Black has regained material equality with all pieces actively placed. The Budapest Gambit has achieved its goal — Black sacrificed a pawn temporarily, used the time to develop aggressively, and now has it back with a comfortable position.
White trades knights, simplifying the position. After ..♘︎xe5, Black has a strong centralized knight and lead in development.
Recapture to maintain your powerful centralized knight.
♘︎xe5 — Recapturing with the remaining knight. Black's ♘︎e5 is a dominant piece — centralized, well-supported, and controlling key squares (d3, f3, c4, g4). White's ♘︎d2 looks passive by comparison.
White develops the bishop modestly and prepares to castle. ♗︎e2 is solid but passive because c4 holds White's own pawn and ♗︎d3 would drop the bishop to ..♘︎xd3+.
Support your centralized knight and prepare to develop the bishop.
Solidifying the knight on e5 with pawn support. The d6 pawn also opens the diagonal for the light-squared bishop (♗︎c8), which can now develop to f5 or e6. Black's position is harmonious: centralized knight, active bishop on b4, queen eyeing e5, and the c8-bishop about to join the game.
Alternative Moves
White castles to safety. The king is secure, and the rook enters the game along the f-file.
Develop your last minor piece to its most active diagonal.
♗︎f5 — The final piece joins the game! The bishop develops actively, controlling the b1-h7 diagonal and eyeing the c2 and e4 squares. Black has completed development, but the b4 bishop is loose: 11. ♕︎a4+ hits it, so ..a5 first was more precise. Black's position shows the gambit's idea: all pieces are active and the knight dominates e5, though White keeps a small edge.
Alternative Moves
Key Takeaways
- 2...e5 sacrifices a pawn for rapid development and piece activity
- 3...♘︎g4 is the key move — the knight attacks e5 immediately
- ♗︎b4+ forces White into passive piece placement (♘︎bd2)
- ♕︎e7 centralizes the queen and piles pressure on e5
- Black recovers the pawn with ♘︎gxe5, ending up with active, well-coordinated pieces
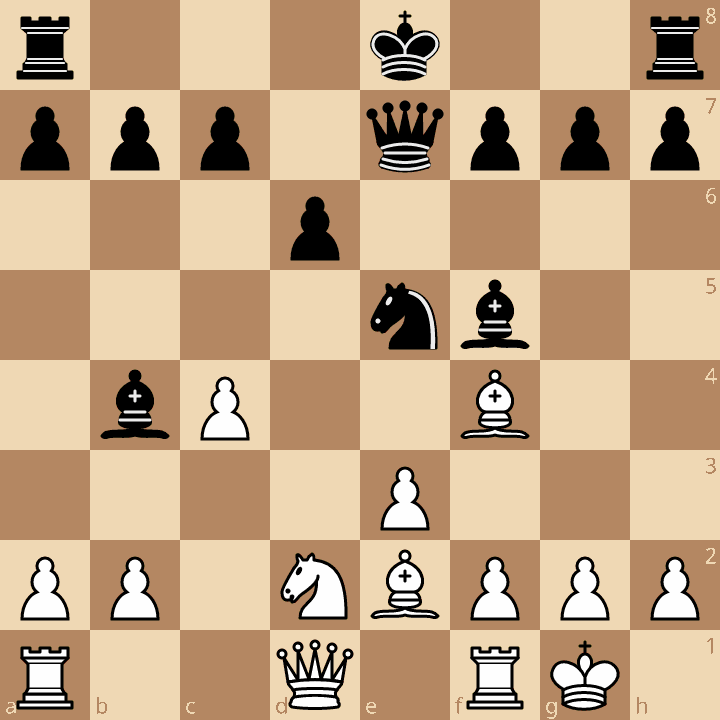
Now play it through
Step through every move on a real board, try the wrong ones, and ask Knighty why they fail.
Related Lessons
Summary
Ready to Practice?
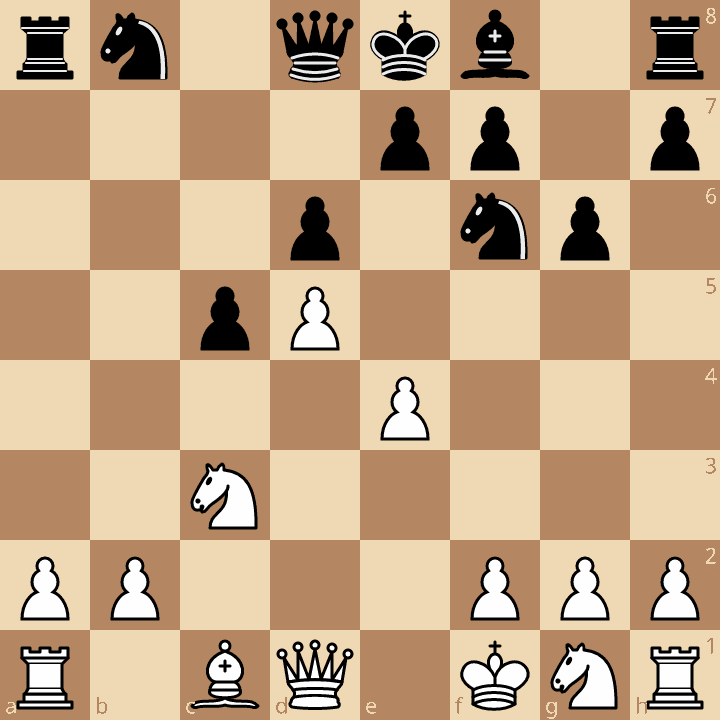
Next in this opening family
Benko Gambit
Take this lesson with you
Free account requiredWith every variation — opens in Lichess & ChessBase