
Grunfeld Defense - Exchange Variation
Let White build a massive center, then tear it apart with Black's fianchettoed bishop and precise pawn strikes
Try Interactive LessonIntroduction
Lesson Content
The Queen's Pawn opening — White claims the center with the d-pawn, which is immediately defended by the queen. This tends to lead to more strategic, closed positions compared to 1. e4. Black's main responses: - 1. ..d5 — Queen's Gambit and Slav setups - 1. ..♘︎f6 — Indian Defenses (King's Indian, Nimzo-Indian, etc.) - 1. ..f5 — Dutch Defense
Develop the knight to control the e4 square.
♘︎f6 — Black develops the knight and controls e4, preventing White from building the ideal e4+d4 center easily. This is the gateway to all Indian Defense systems. Black delays committing a pawn structure, staying flexible to choose between King's Indian, Nimzo-Indian, Queen's Indian, and more.
White reinforces control of d5 and grabs more space. Combined with d4, the two pawns dominate the center. Now Black's response determines the opening system: - 2. ..e6 — Nimzo-Indian (after 3. ♘︎c3 ♗︎b4) or Queen's Indian - 2. ..g6 — King's Indian or Grunfeld - 2. ..c5 — Benoni structures - 2. ..e5 — Budapest Gambit
Prepare the bishop fianchetto.
g6 — Black prepares to fianchetto the bishop on g7, leading to either the King's Indian Defense (..d6, ..♗︎g7) or the Grunfeld Defense (..d5, ..♗︎g7). Both are hypermodern — Black allows White a big center, then attacks it. The choice between King's Indian and Grunfeld typically comes on move 3 or 4.
White develops the knight to its natural square, reinforcing control of d5 and e4. Now Black must commit: 3. ..d5 enters the Grunfeld, immediately challenging the center, while 3. ..♗︎g7 followed by ..d6 leads to the King's Indian, a slower buildup.
Challenge the center now — don't let White consolidate.
d5 — The Grunfeld Defense! Black strikes at the center immediately rather than fianchettoing first. This is the key difference from the King's Indian — Black challenges White's center head-on, inviting the trade that gives White a massive pawn center but creating targets to attack.
Alternative Moves
White captures, entering the Exchange Variation — the most critical test of the Grunfeld. White accepts the challenge: after ♘︎xd5 and e4, White will have a massive pawn center. The strategic question is whether Black can undermine it.
Alternative Moves
Recapture the pawn with your knight.
♘︎xd5 — Forced recapture. The knight lands on d5 temporarily, but Black is already planning to trade it off. The coming sequence ..♘︎xc3, bxc3 is the heart of the Grunfeld Exchange.
White builds the ideal pawn center — d4+e4 controlling all the central squares. This looks imposing, but it comes at a cost: the knight on d5 must be dealt with, and after ..♘︎xc3 bxc3, White's queenside pawn structure is compromised.
Trade the knight — damage White's pawn structure.
♘︎xc3 — Black trades the knight for the c3-knight, a key strategic decision. White must recapture with the b-pawn, creating an isolated a-pawn and a weak c3 pawn. Black trades a piece but damages White's structure — the c3 pawn becomes a target and the a-pawn is weak.
Forced. White now has the big center (d4+e4) and the bishop pair, but the weak c3 pawn and isolated a-pawn are permanent weaknesses. The c3 pawn in particular blocks the c-file and restricts White's pieces.
Fianchetto the bishop — aim it at the d4 pawn.
♗︎g7 — The Grunfeld bishop takes its throne! From g7, it aims directly at d4 — the base of White's pawn center. This bishop is the soul of Black's strategy: it pressures d4 constantly, supports ..c5, and will become enormously powerful once the center opens.
The Modern Exchange Variation. White develops the knight naturally, defending d4 and preparing to castle. This is the most popular continuation at the highest level. White's alternatives lead to different characters: - 7. ♗︎c4 — Classical Exchange, aiming at f7 - 7. ♗︎e3 — Seirawan Variation, solidifying d4 early
Alternative Moves
Strike at d4 — your bishop and pawn work together.
c5 — The thematic pawn strike! Black attacks d4 directly. Combined with the ♗︎g7 already pressuring d4 from the diagonal, this creates immediate tension in the center. White must decide how to defend d4.
White develops the bishop to defend d4 and prepares to castle queenside or connect the rooks. The ♗︎e3 is well-placed, supporting d4 and controlling the dark squares.
Alternative Moves
Pin the c3 pawn and pressure White's weak pawns.
♕︎a5 — A multi-purpose queen move — Black pins the c3 pawn to the king along the diagonal, tying down White's pieces to defense. The queen also eyes the c3 and a2 pawns, and after ...O-O, Black will be fully developed with pressure on White's center and weak pawns.
Alternative Moves
White completes the queenside setup and prepares ♖︎c1. The queen on d2 defends c3 and eyes the kingside for potential ♗︎h6 ideas. This is the main line, played extensively by Kramnik and Carlsen.
Castle to safety — your attack on the center continues.
O-O — Black castles to safety, completing kingside development. The rook on f8 will become active after the center opens. Black is now fully coordinated: ♗︎g7 pressures d4, ♕︎a5 pressures the queenside, and the rook is ready for action.
White places the rook on the c-file, supporting the c3 pawn and preparing to potentially push it forward. The rook also eyes c7 if the c-file fully opens after ..cxd4.
Capture on d4 and open the position for your bishop.
Black captures on d4, opening the position. This breaks up White's c3-d4 pawn chain and activates the ♗︎g7 further. After White recaptures with cxd4, the d4 pawn becomes a long-term target in the endgame.
White recaptures, restoring the pawn to d4. But the c-file is now fully open and the d4 pawn becomes a long-term weakness — Black's ♗︎g7 and rooks will target it persistently.
Trade queens — the endgame favors Black's bishop.
♕︎xd2+ — Black trades queens! This is not a sign of passivity — it's a strategic decision. In the endgame, Black's fianchettoed bishop on g7 is a monster aiming at the d4 pawn. Without queens, White's attacking chances evaporate while Black's structural pressure endures.
White recaptures with the knight, keeping the piece active and maintaining the option to reroute via ♘︎b3 or ♘︎c4. This is the critical tabiya of the Modern Exchange Grunfeld — Black has excellent prospects attacking the d4 pawn with the bishop, knight, and rooks.
Key Takeaways
- 3...d5 defines the Grunfeld — challenge White's center immediately instead of the slower King's Indian setup
- 5...♘︎xc3 6.bxc3 damages White's pawn structure, creating permanent targets on c3 and a2
- The ♗︎g7 is the soul of the Grunfeld — it pressures d4 constantly from the long diagonal
- ...c5 combined with ♗︎g7 creates overwhelming pressure on White's central d4 pawn
- The queen trade after ...♕︎xd2+ is strategic, not passive — Black's bishop dominates the endgame
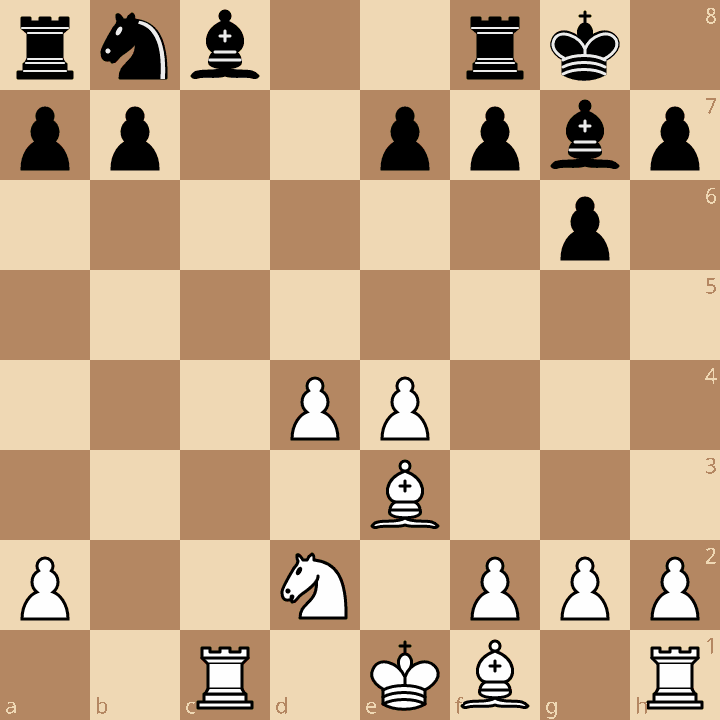
Now play it through
Step through every move on a real board, try the wrong ones, and ask Knighty why they fail.
Related Lessons
Summary
Ready to Practice?
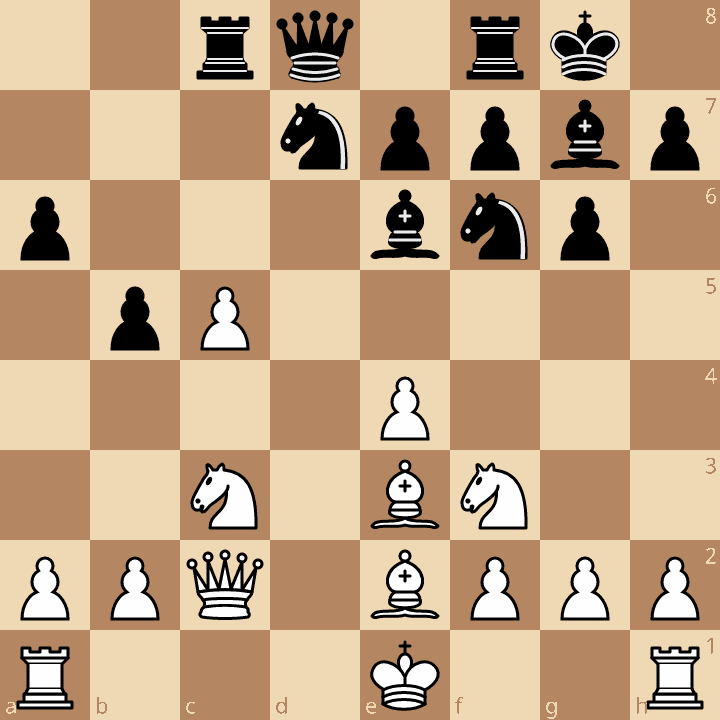
Next in this opening family
Grunfeld Defense - Russian System
Take this lesson with you
Free account requiredWith every variation — opens in Lichess & ChessBase