
Ruy Lopez - Exchange Variation
White trades bishop for knight early, creating a lasting structural edge with a superior pawn majority
Try Interactive LessonIntroduction
Lesson Content
Start by controlling the center with your king pawn.
e4 — The King's Pawn opening — White claims the center and opens diagonals for the queen and kingside bishop. The most popular first move in chess. Black's main responses: - 1. ..e5 — Open Game, matching White's center - 1. ..c5 — Sicilian Defense, fighting for d4 asymmetrically - 1. ..e6 — French Defense, preparing ..d5 - 1. ..c6 — Caro-Kann, also preparing ..d5
Alternative Moves
Black mirrors White's central claim, establishing a symmetrical pawn center. This leads to the Open Games — the oldest and most classical family of openings. The e5 pawn controls d4 and f4, limiting White's expansion options.
Develop a piece that attacks the e5 pawn.
♘︎f3 — White develops the knight to its most natural square, attacking the e5 pawn immediately. The knight also controls d4 and prepares kingside castling. This is the most common second move, leading to a vast tree of openings including the Italian, Ruy Lopez, and Scotch.
Alternative Moves
Black defends the e5 pawn with the most natural developing move. The knight on c6 also controls the important d4 and e5 squares. From here White's third move defines the opening: - 3. ♗︎c4 — Italian Game - 3. ♗︎b5 — Ruy Lopez - 3. d4 — Scotch Game - 3. ♘︎c3 — Three Knights Game
Pressure the knight that defends the e5 pawn.
♗︎b5 — The Ruy Lopez (Spanish Game) — one of the deepest and most respected openings. White puts pressure on the ♘︎c6 — the key defender of e5. If Black later moves the d7 pawn, the knight becomes pinned to the king. The idea is not to capture immediately but to maintain long-term pressure. Black's main responses: - 3. ..a6 — Morphy Defense (most popular), challenging the bishop - 3. ..♘︎f6 — Berlin Defense, solid and drawish - 3. ..d6 — Steinitz Defense, passive but solid
Alternative Moves
The Morphy Defense — Black immediately questions the bishop's position. White must decide: retreat (4. ♗︎a4, maintaining tension) or exchange (4. ♗︎xc6, doubling pawns but ceding the bishop pair). 4. ♗︎a4 is the main line, keeping the pressure and the option to exchange later.
Trade the bishop for the knight to damage Black's pawn structure.
♗︎xc6 — The Exchange Variation! White immediately trades the bishop for the knight, creating a permanent structural advantage. After ..dxc6, Black's pawns are doubled on the c-file and White has a healthy 4-vs-3 kingside pawn majority. This is a strategic decision — White gives up the bishop pair in exchange for a superior pawn structure that becomes decisive in endgames.
Alternative Moves
Recapturing toward the center is correct — 4. ..bxc6 would leave the a6 pawn isolated and weak. After ..dxc6, Black has doubled c-pawns but gets the half-open d-file for the queen and gains the bishop pair. Black's long-term plan is to use the bishops and active piece play to compensate for the structural weakness.
Secure your king by castling.
O-O — Castling immediately is the most flexible approach. White secures the king before committing to a specific pawn structure. The rook on f1 eyes the f-file and supports a potential f4 break later. There is no rush to play d4 — White can choose between d3 (solid) or d4 (ambitious) based on Black's setup.
Alternative Moves
Black develops the bishop to its most active square, pinning the ♘︎f3 against the queen. This is the strongest move — the bishop was freed by ..dxc6 and immediately finds a strong diagonal. Black creates concrete threats (♗︎xf3, damaging White's structure) while developing naturally.
Alternative Moves
Challenge the bishop that pins your knight.
h3 — Asking the bishop an important question — retreat or commit? Black must decide between the aggressive ..h5 (keeping pressure) or the quiet ..♗︎h5 (which allows g4 later). This is a standard idea against the ♗︎g4 pin. White gains useful information about Black's intentions while creating a luft for the king.
Alternative Moves
The most ambitious reply — Black keeps the bishop on the aggressive g4 square and threatens to hold it there permanently. The pawn on h5 prevents g4 from chasing the bishop away. This is a double-edged choice: the h-pawn is advanced and could become a target, but the bishop stays active.
Alternative Moves
Support your e4 pawn solidly.
A solid, flexible pawn move that supports e4 and opens the c1-h6 diagonal for the dark-squared bishop. White avoids d4 for now — the pawn is better placed on d3 in many Exchange Variation lines where a slow, strategic approach works best. The plan is to develop with ♘︎bd2, ♖︎e1, and prepare d4 only when fully ready.
Alternative Moves
Black develops the queen to f6 — an unusual but effective square. The queen supports the e5 pawn, eyes the kingside, and keeps the option of ...O-O-O. In the Exchange Variation, Black often delays castling to maintain flexibility. The queen also protects against any ♘︎xe5 ideas and prepares potential ..g5 expansion.
Alternative Moves
Develop your knight to support the center and key squares.
♘︎bd2 — Developing the knight to d2 rather than c3 is a hallmark of the Exchange Variation. From d2, the knight supports the c4 square (a key outpost) and can reroute to f1-g3 or c4 depending on the position. The knight on d2 also avoids blocking the c-pawn, preserving the option of c3 to support a future d4.
Alternative Moves
Black develops the knight to e7, preparing to reroute it to g6 where it controls f4 and h4. The knight on e7 also supports the c6 pawn and avoids blocking the f-file. This is a common maneuver in the Exchange Variation — the knight finds its best square via e7-g6.
Place your rook on the most important central file.
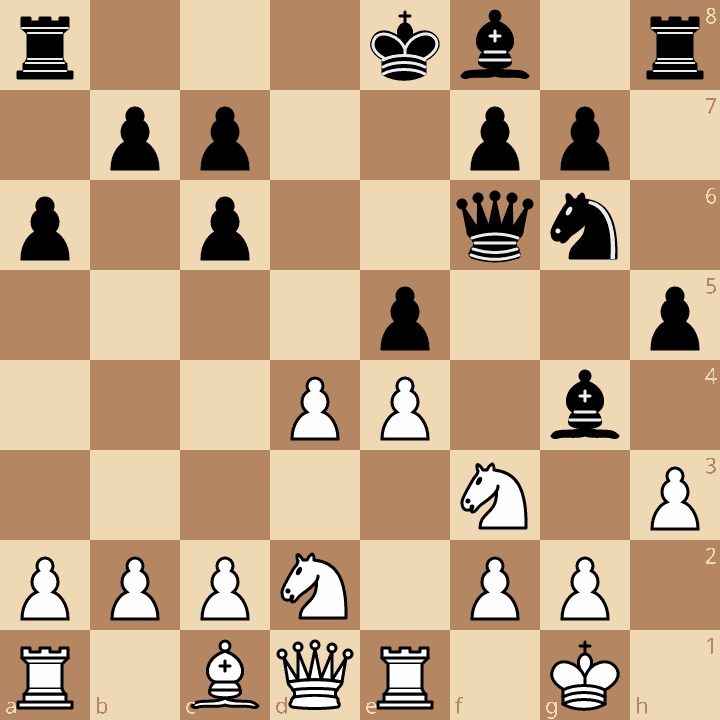
The rook moves to the e-file, backing up the e4 pawn. This is a natural developing move that prepares d4 by adding support to the center. With ♖︎e1, White's development is nearly complete. The position is primed for the central break.
Alternative Moves
The knight arrives on its ideal square — g6 controls the f4 and h4 squares, prevents White from easily playing f4, and supports kingside defense. From g6, the knight can also jump to f4 if given the chance, creating strong pressure on White's position.
Strike in the center now that your pieces are in place.
The thematic central break! After careful preparation with d3, ♘︎bd2, and ♖︎e1, White finally strikes in the center. The d4 push challenges Black's e5 stronghold and opens lines for White's pieces. This is the culmination of White's strategy — the superior pawn structure becomes most relevant when the center opens and play transitions toward an endgame.
Alternative Moves
Key Takeaways
- 4.♗︎xc6 dxc6 creates a permanent structural edge — White's kingside majority vs Black's crippled c-pawns
- Black compensates with the bishop pair and active piece play
- White develops with O-O, h3, d3, ♘︎bd2, ♖︎e1 before committing to d4
- The knight goes to d2 (not c3) to keep the c-pawn flexible and target c4
- The d4 break is White's primary strategic goal — timing it correctly is key
Now play it through
Step through every move on a real board, try the wrong ones, and ask Knighty why they fail.
Related Lessons
Summary
Ready to Practice?
Next in this opening family
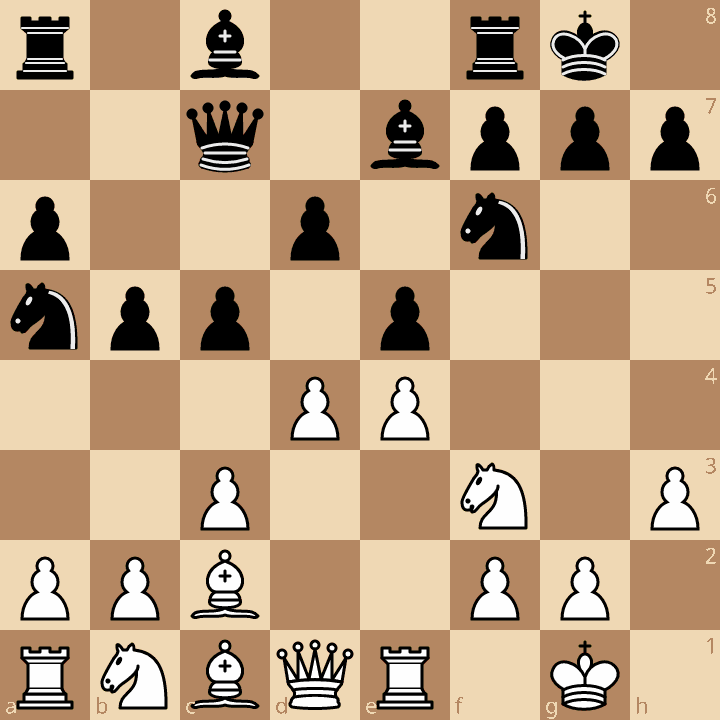
Ruy Lopez - Closed (Chigorin)
Take this lesson with you
Free account requiredWith every variation — opens in Lichess & ChessBase